With two-factor login, you can further increase the security of using FirstAgenda Prepare. You can choose to use two-factor login either with a one-time SMS code or with an authenticator app each time you log in.
You can enable two-factor authentication yourself in your security settings. When you enable two-factor authentication for your account, it applies to all organizations you are a member of.
How to enable two-factor authentication for your account
- Log in to web.firstagenda.com.
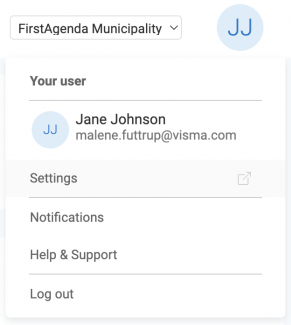
- Click on your initials in the top right corner and select Settings.

You will now be directed to the user management page where you can make changes.
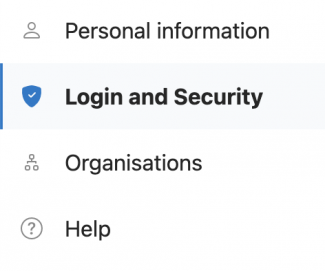
- Click on Login and Security in the left menu.

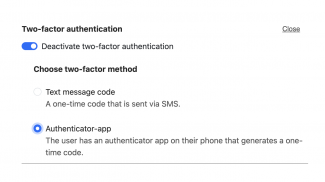
- Click Edit next to “Two-Factor Authentication” and toggle the switch to enable two-factor authentication.
- Now choose the method you want to use for two-factor login by selecting the desired option:
- SMS Code: If you choose SMS code, you will receive a one-time code via SMS each time you log in.
- Authenticator App: If you choose the authenticator app, it will generate a one-time code that you need to enter every time you log in. Read here on how to set up the authenticator app during login.
- SMS Code: If you choose SMS code, you will receive a one-time code via SMS each time you log in.

- Then click Close and Save on the bottom of the page.
You have now enabled two-factor authentication for your account.
If you wish to disable two-factor authentication at any point, the process is the same. Simply toggle the switch off under two-factor authentication.
Note:
If your organization has enabled two-factor authentication at the organizational level, you will not be able to disable it yourself.
